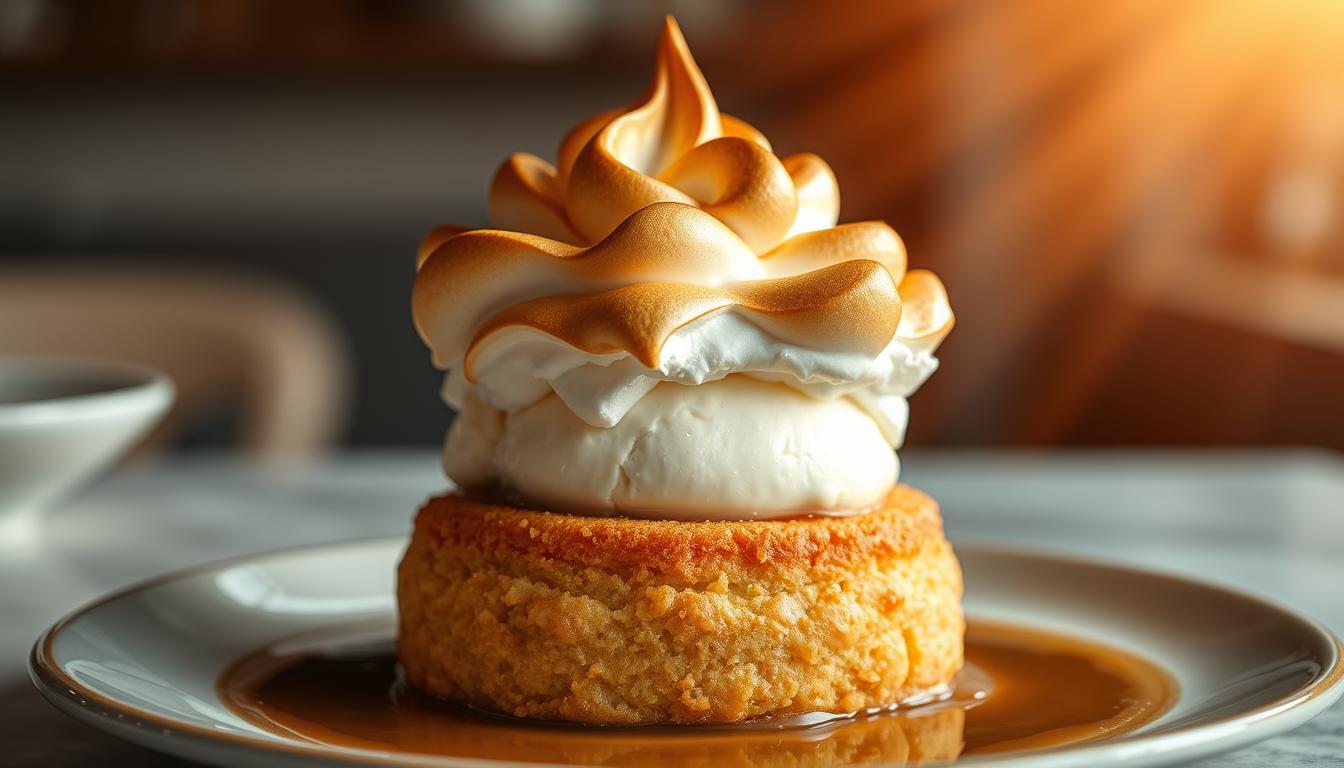
Imagine hosting a dinner party and just when it seems like the night can’t get better, you present a stunning baked Alaska. This classic ice cream dessert is more than just a treat. It’s a show that turns a simple meal into a memorable event.
Making a homemade baked Alaska might seem daunting, but it’s actually doable. With a few basic steps and some prep, you can create a dessert that looks like it came from a pro. The magic is in its contrast: a cold ice cream center wrapped in a warm, toasted meringue shell.
Whether it’s a special event or just a family dinner, this baked Alaska recipe is your go-to. You’ll learn how to make a dessert that looks fancy but is actually easy to make.
Key Takeaways
- Baked Alaska is easier to make than you might think
- Perfect for impressing guests at dinner parties
- Combines warm meringue with cold ice cream for dramatic effect
- Suitable for both special occasions and casual gatherings
- Requires minimal specialized baking skills
What Makes Baked Alaska a Show-Stopping Dessert
Get ready to be wowed by one of the most stunning desserts ever. Baked Alaska is a true masterpiece. It combines temperature, texture, and show-stopping presentation in one dish.
The history of Baked Alaska is filled with culinary innovation. This special dessert was born in the late 19th century. It was a game-changer, pushing the limits of traditional desserts.
Origin and Cultural Significance
The dessert’s transformation from cold to hot is truly amazing. Chefs and home cooks love its unique build:
- Ice cream core stays frozen
- Warm meringue creates a crispy shell
- Sponge cake acts as a stable base
Why Guests Love This Spectacular Dessert
Serving Baked Alaska is more than just a dessert. It’s a memorable moment. Its stunning look and temperature surprise make it perfect for special events.
| Dessert Characteristic | Baked Alaska Impact |
|---|---|
| Visual Appeal | Dramatic presentation |
| Temperature Contrast | Frozen inside, hot outside |
| Culinary Skill | Shows off advanced techniques |
Mastering Baked Alaska takes practice, patience, and a love for cooking. Your guests will be thrilled by the dramatic serving of this dessert.
Essential Ingredients for the Perfect Baked Alaska Recipe
To make a stunning baked Alaska, you need the right ingredients. The quality of these ingredients is key. They must work together to create a magical dessert experience.
The main ingredients for baked Alaska are divided into three layers:
- Sponge Cake Base Ingredients:
- All-purpose flour
- Granulated sugar
- Eggs
- Vanilla extract
- Baking powder
- Ice Cream Cake Ingredients:
- Premium vanilla ice cream
- Heavy cream
- Stabilizing agents
- Meringue Ingredients:
- Fresh egg whites
- Granulated sugar
- Cream of tartar
For the ice cream layer, choose ice cream with high fat content. Premium brands are best for a smooth, rich texture.
| Ingredient Category | Key Components | Quality Recommendation |
|---|---|---|
| Sponge Base | Flour, Sugar, Eggs | Use fresh, room-temperature ingredients |
| Ice Cream Layer | Vanilla Ice Cream | Select high-butterfat content |
| Meringue Topping | Egg Whites, Sugar | Ensure egg whites are at room temperature |
Pro tip: Measure your meringue ingredients carefully. Fresh egg whites whip up better. They make a stable meringue that browns well when torched or baked.
Kitchen Tools and Equipment You’ll Need
Making a stunning baked Alaska needs more than just cooking skills. You’ll need special tools and equipment for ice cream cakes to get it right. Being prepared and having the right tools will make baking fun and easy.
Having the right equipment is key for making desserts. Let’s look at the essential tools for creating this amazing dessert.
Temperature Control Essentials
Controlling temperature is vital for baked Alaska. Your kitchen should have:
- Accurate digital thermometer
- High-quality freezer with consistent temperature
- Reliable oven with calibrated temperature settings
Baking and Assembly Tools
Specific tools and safety gear are needed for baking Alaska:
| Tool | Purpose |
|---|---|
| Stand mixer | Perfect meringue preparation |
| Piping bags | Decorative meringue application |
| Springform pan | Ideal cake base construction |
| Offset spatula | Smooth layer application |
Safety Equipment
Keep safe while making this beautiful dessert with important safety gear:
- Thick oven mitts
- Long-sleeved apron
- Kitchen towels
- Heat-resistant gloves
Pro tip: Invest in quality tools that will serve you beyond just making baked Alaska. Good equipment makes baking more precise and enjoyable.
Making the Perfect Sponge Cake Base
Creating the right cake base for baked Alaska is key to its success. A perfect sponge cake recipe is the foundation, providing a delicate yet sturdy base for your ice cream and meringue layers.
Your cake base should be light and fluffy. It needs to support multiple layers without getting soggy. Mastering a few essential techniques is crucial for a beautiful result every time.
- Use room temperature eggs for maximum volume
- Sift dry ingredients to prevent lumps
- Fold ingredients gently to maintain air bubbles
- Bake at the correct temperature for even rising
Professional bakers recommend using a classic genoise sponge for the best results. This method involves whisking eggs and sugar until they become pale and voluminous. This creates a light and fluffy cake, ideal for complex desserts like baked Alaska.
When preparing your sponge cake recipe, focus on mixing techniques. Overmixing can deflate the batter, while undermixing can make it dense and uneven. The goal is to create a cake that’s tender, airy, and can hold up to the frozen ice cream layer.
- Beat eggs until they form soft peaks
- Gradually incorporate flour
- Use a light folding motion
- Avoid deflating the batter
Remember, practice makes perfect when creating the ideal cake base for baked Alaska. Each attempt will help you refine your technique and develop the skills needed to produce a truly spectacular dessert.
Choosing and Preparing Ice Cream Layers
Starting your baked Alaska with the right ice cream flavors is key. The layers are what make the dessert a hit, offering a taste that wows your guests.
Think about ice cream flavors that go well together. You want a mix that’s both tasty and visually appealing. This will make your dessert a showstopper.
Best Ice Cream Flavors to Explore
- Classic vanilla with chocolate chip
- Mint chocolate chip and dark chocolate
- Strawberry and lemon sorbet
- Salted caramel and praline
- Pistachio and raspberry
Proper Freezing Techniques for Desserts
Freezing ice cream right is essential. The key is to maintain a consistent, ultra-cold temperature. Before you start, follow these important steps:
- Pre-freeze your ice cream layers in a springform pan
- Use parchment paper to prevent sticking
- Freeze layers for at least 4 hours before assembly
- Keep ice cream rock-solid but not freezer-burned
Pro tip: Pick high-quality ice cream for the best results. Soft or low-quality ice cream can ruin your dessert’s look and taste.
Creating the Perfect Meringue Topping
Learning to make a great meringue is key for Baked Alaska. Your meringue topping is both beautiful and keeps the ice cream safe while baking. It’s all about the whipped egg whites, needing careful skill.
To make a top-notch meringue, you’ll need a few things and some special techniques:
- Fresh egg whites at room temperature
- Granulated sugar
- Cream of tartar (stabilizing agent)
- Pinch of salt
The trick to great whipped egg whites is in how you prepare them. Begin by separating the eggs carefully, making sure no yolk gets in the whites. Use a clean, grease-free bowl to get the best results.
| Meringue Stage | Characteristics | Mixing Time |
|---|---|---|
| Soft Peaks | Gentle, drooping tips | 2-3 minutes |
| Stiff Peaks | Firm, upright peaks | 4-5 minutes |
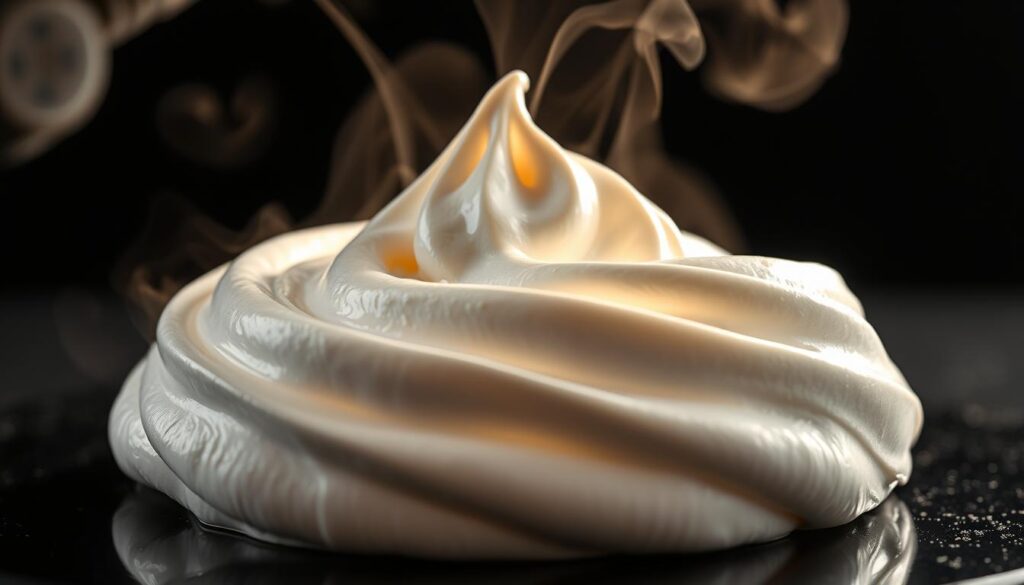
When making your meringue, add sugar slowly while beating. Patience is key – too fast and it won’t turn out right. You want a smooth, shiny mix that stands up in peaks.
Experts say using an electric mixer helps get consistent results. Beat on medium-high speed, adding sugar bit by bit. The meringue should be thick enough to hold its shape when piped on your Baked Alaska.
Step-by-Step Assembly Instructions
Making a stunning baked Alaska needs precision and skill. Knowing how to put it together is key. It will impress your guests and delight their taste buds.
The assembly process is an art that combines layers of tasty components. Your goal is to make a dessert that looks great and tastes amazing. It should balance temperature and texture perfectly.
Layering Components with Precision
When layering ice cream cake for your baked Alaska, follow these steps:
- Start with a solid sponge cake base
- Freeze the cake base for 30 minutes before adding ice cream
- Select 2-3 complementary ice cream flavors
- Spread each ice cream layer evenly
- Return to freezer between each layer
Decorative Techniques for Visual Appeal
Decorating baked Alaska lets your creativity shine. Try these artistic approaches:
- Use a piping bag for intricate meringue designs
- Create swirling patterns with different meringue textures
- Experiment with color variations using food-safe coloring
- Use kitchen torch for golden-brown peaks
Timing Tips for Perfect Execution
Timing is key when assembling your dessert. Work quickly and efficiently to keep the right temperature and prevent melting. Keep all components chilled and have your tools ready before starting the final assembly.
Pro tip: Assemble your baked Alaska just before serving. This ensures maximum visual impact and optimal temperature contrast between the frozen interior and warm, toasted exterior.
Baking and Serving Temperature Guidelines
Mastering the baking temperature for baked Alaska is key to a spectacular dessert. It needs a delicate balance of crisp meringue and frozen ice cream. This balance requires precise temperature control.
Follow these temperature guidelines when preparing your dessert:
- Preheat your oven to 500°F (260°C) for the perfect meringue browning
- Limit baking time to 3-4 minutes to prevent ice cream melting
- Ensure ice cream is rock-solid before baking
Dessert temperature control is an art with baked Alaska. You aim for a golden-brown meringue exterior and a frozen ice cream core. Bakers suggest removing the dessert from the freezer just before baking.
Timing is crucial when serving an ice cream cake like baked Alaska. Here are some tips:
- Serve immediately after browning
- Keep dessert plates chilled
- Cut slices quickly with a pre-warmed knife
The success of baked Alaska depends on temperature control. Your meringue should be light, your cake base stable, and your ice cream center frozen.
Common Mistakes to Avoid When Making Baked Alaska
Making the perfect baked Alaska can be tough, even for pros. You need to pay close attention to details and know the common problems. These can ruin your dessert.
Ice cream cake issues often come from not controlling the temperature right. Your success depends on getting the timing and temperature just right. Here are the top mistakes to avoid:
- Soft ice cream layer: Freeze your ice cream base completely solid before assembly
- Melting during preparation: Keep components extremely cold
- Uneven meringue coverage: Ensure complete and smooth meringue coating
Meringue mistakes can quickly ruin your dessert. The biggest errors include:
- Overmixing the meringue, causing it to become grainy
- Not whipping egg whites to stiff peaks
- Adding sugar too quickly, preventing proper stabilization
To avoid these problems, you need to be precise. Always pre-chill your cake base and work on a frozen surface. Place a metal baking sheet in the freezer for at least 15 minutes before you start. This keeps your baked Alaska from melting.
Getting better at this dessert takes practice and patience. Each try will make you better at balancing temperature, technique, and timing.
Storage and Make-Ahead Tips
Learning how to store baked Alaska can make this dessert easy to manage. It’s all about the right preparation and storage. This keeps the dessert’s textures and flavors just right.
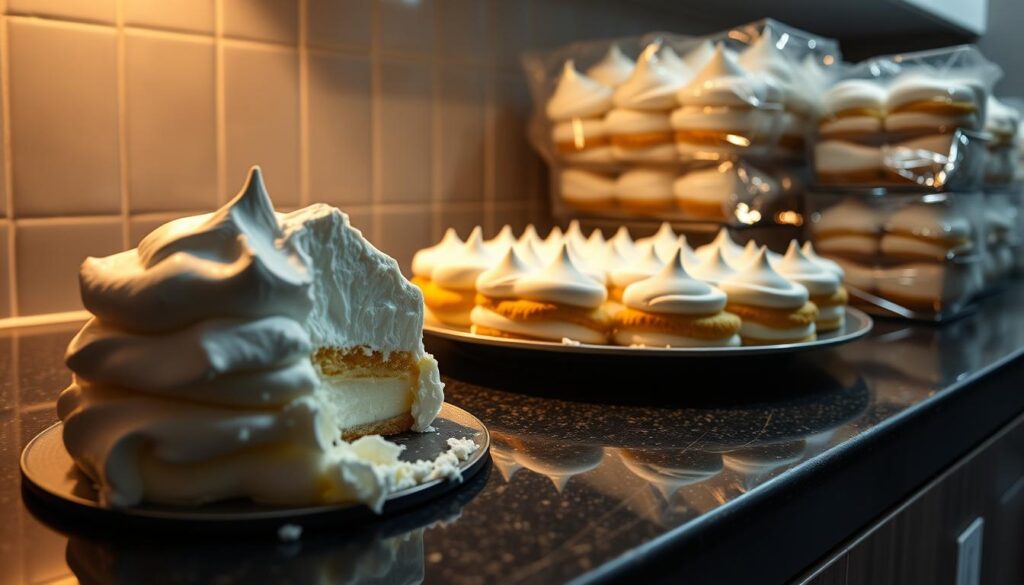
Baked Alaska is great for make-ahead desserts. You can make parts of it ahead of time. This is perfect for big events or dinner parties.
Freezer Storage Methods
Freezing ice cream cakes needs careful steps to avoid freezer burn. Here are some important tips:
- Wrap the dessert tightly in plastic wrap
- Put it in a freezer-safe container with a tight seal
- Keep it at 0°F (-18°C) or colder
- Eat it within 3-4 weeks for the best taste
Advanced Preparation Timeline
Planning ahead can make making Baked Alaska fun. Here’s a timeline to follow:
- Sponge cake base: Make 2-3 days early
- Ice cream layer: Prepare 1 week before
- Meringue: Make just before serving
- Final assembly: Do 1-2 hours before your event
Pro tip: Take your Baked Alaska out of the freezer 5-10 minutes before serving. This ensures it’s at the perfect temperature and texture.
Conclusion
Making a homemade baked Alaska might seem hard, but it’s doable with the right steps. You can turn this impressive dessert into a stunning treat for special occasions. The trick is to understand each step and keep practicing.
Your kitchen will become a place of magic, amazing your guests. They will be impressed and happy.
Every great dessert has a story, and your baked Alaska will too. By following this guide, you’ve learned how to make a perfect dessert. It’s not just a treat; it’s an experience that makes memories with loved ones.
Remember, practice makes perfect. Your first try might not be perfect, but each attempt will make you better. Feel free to try new ice cream flavors or decorations. The fun of baking is in the creativity and the joy you bring to others.
We encourage you to share your baked Alaska stories in the comments. Your experiences can inspire others and build a community of dessert lovers. Let’s all enjoy these amazing sweet creations together.
